- Here is a link to the GotMead site where one of the resident gurus of mead discusses pineapple mead: http://www.gotmead.com/forum/showthread.php?t=8306
- And another... http://www.gotmead.com/forum/showthread.php?t=12045
- One more... http://www.gotmead.com/forum/showthread.php?t=9398
What did "I" learn from this. My three gallons of juice in 5 gallons of mead may result in too little pineapple. Then again I plan to help counteract that by doing the fermentation under low temps (58F) and using a neutral yeast (EC-1118). Overall I'm still full ahead go!
This is how the brew day went down:
I popped my honey into the microwave! Oh god no! I know a lot of sources say to gently warm the honey in a water bath and not to use a microwave. I don't understand why not. I've always used to microwave and had zero problems. You mileage may vary. Anyways, 10 lbs of honey for 4 minutes at high power did the trick and just warmed the honey enough to get it nice and thin.
Here is a shot of the honey water mixture with the stick blender in there whipping the shit out of it.
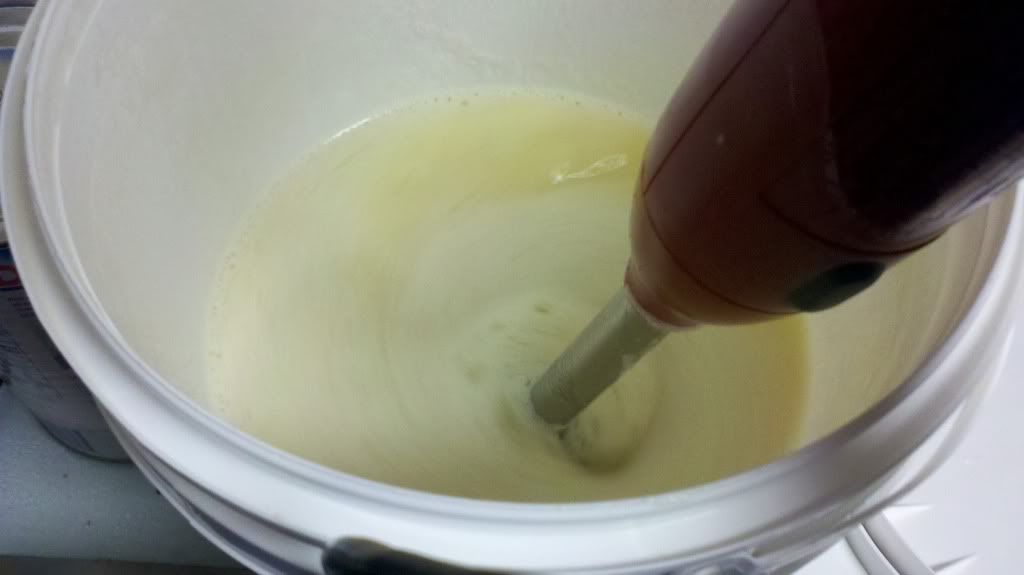
Once I added all of the honey into the gallon of water I dumped that into a 6.5 Gallon brew bucket.
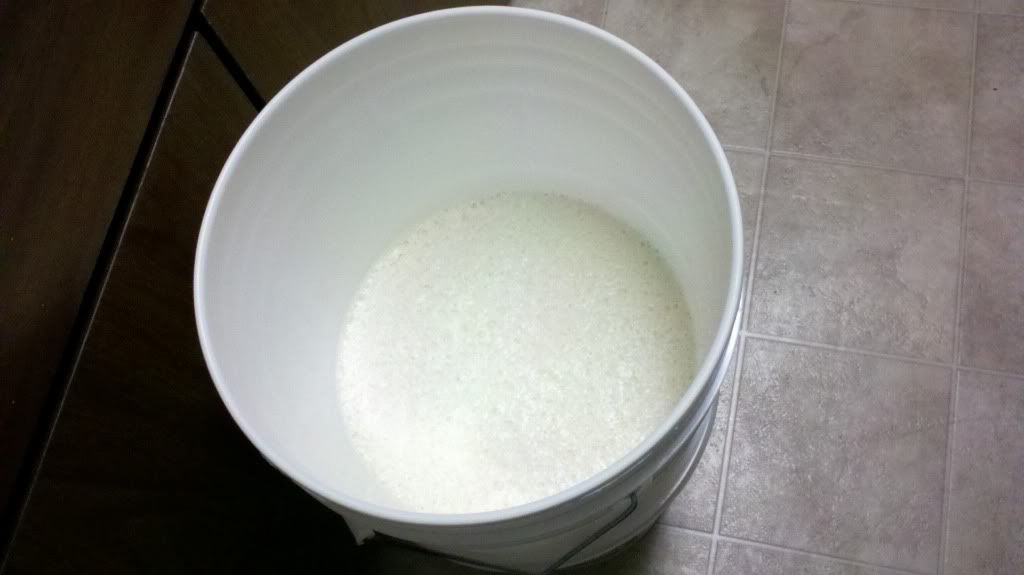
Next I used the stick blender in the fermenter and added the pineapple juice. It got really foamy and I suppose that's a good thing because of the rich oxygenation.

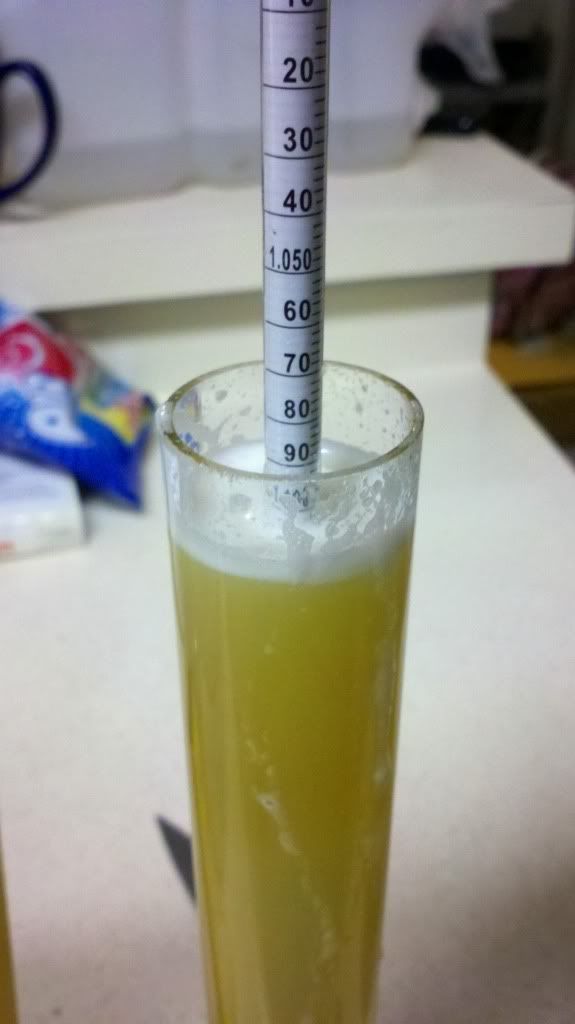
Now it was time to get the numbers. I pulled a sample using my wine thief and measured the Specific Gravity. Initially I measured out at 1.110 so I added about 1/3 gallon of water. The final reading was ~1.096. That's fine for this recipe.
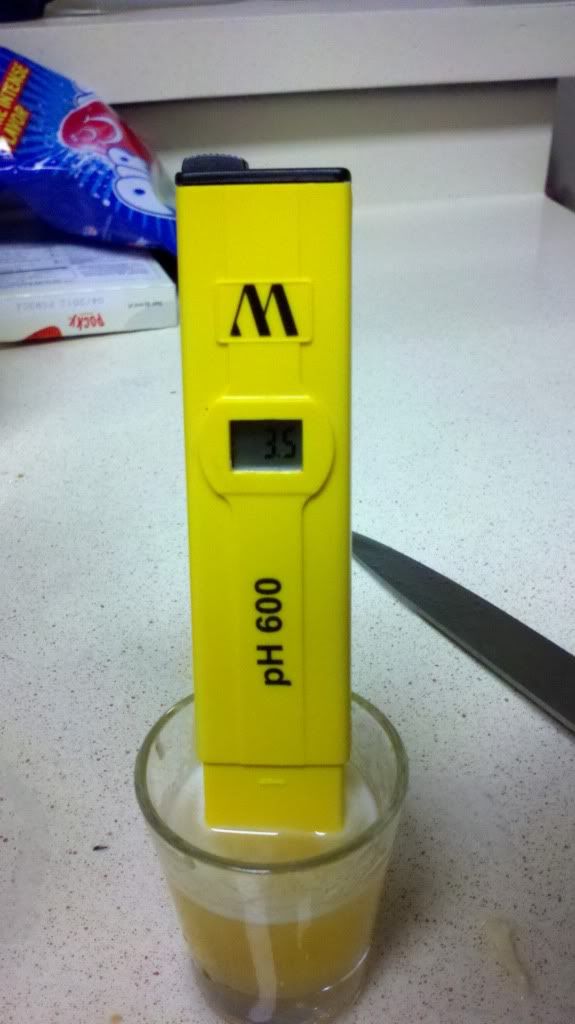
I also took a pH reading. Initially I was worried that I was going to have to take some heroic steps to raise the pH due to the acidity of pineapple juice since I'm using 3 gallons of juice in a 5 gallon batch of mead. But, my worries were for nothing. The pH measured at 3.6. The lower range I use for pH and mead fermentation is 3.2 so this works. Sweet!
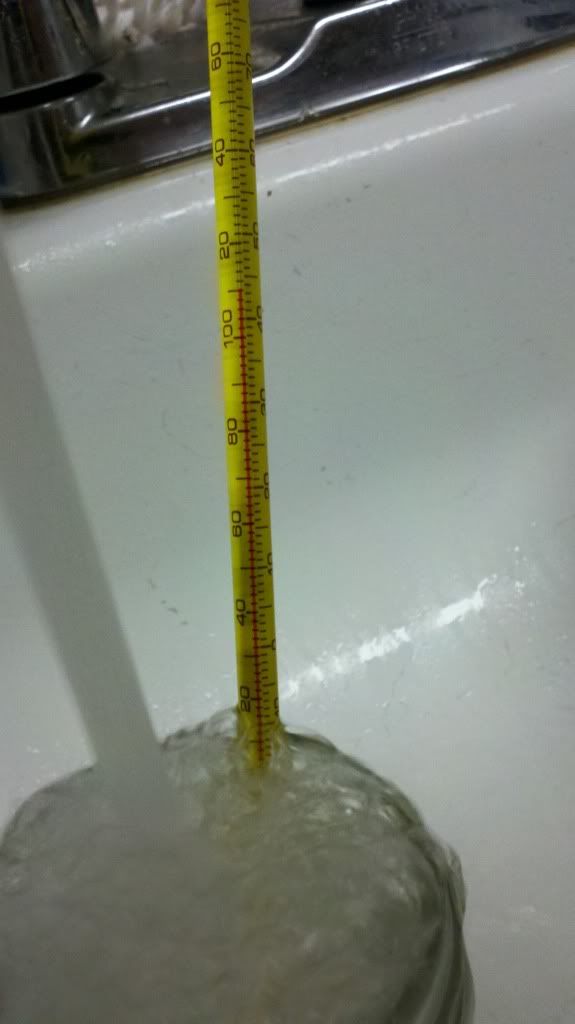
Next it was time to start up the yeasty beasties. I use a mason jar to rehydrate in so I put this in the sink and started to run hot water into it. Using a lab grade thermometer I adjust the temperature of the water with the cold side to get it right at 110F. This is per the Go-Ferm instructions...
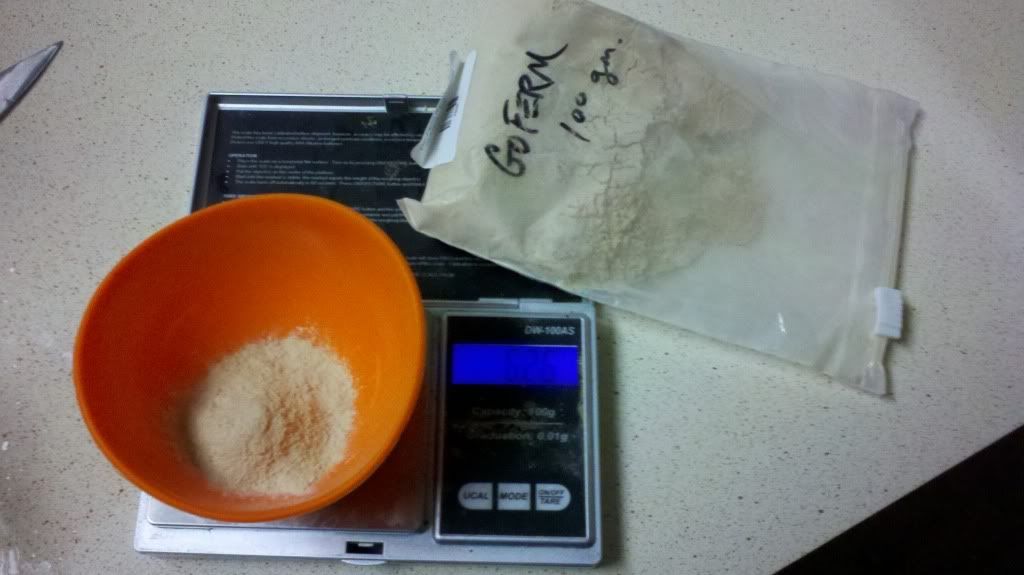
For my 5g pack of yeast I need 6.25g of Go-Ferm. That's 1.25g of Go-Ferm for 1g of yeast. The volume of water to use is 20 times the amount of Go-Ferm. In this case 6.25 X 20 = 125g of water. 1ml of water weights 1 gram. So 125ml of water. That is close enough to 1/2 Cup so I use that. So I've got 1/2C of 110F water in a pint mason jar and I need to weigh out 6.25g of Go-Ferm. Time to bust out the precision instrument... =)
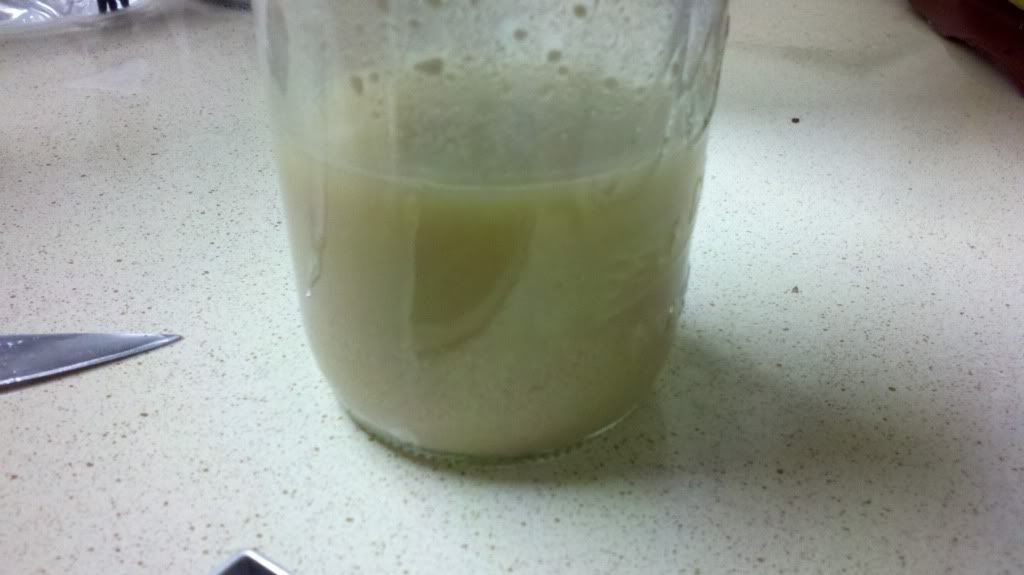
Mix in the Go-Ferm, stir it well, then wait for the temperature to drop down into the 104F-105F range so the yeast don't cook to death when you mix them in. Once the temperature was right I gently mixed in the EC-1118 yeast.
Now wait for 15 minutes... I watched some Battlestar Galactica:

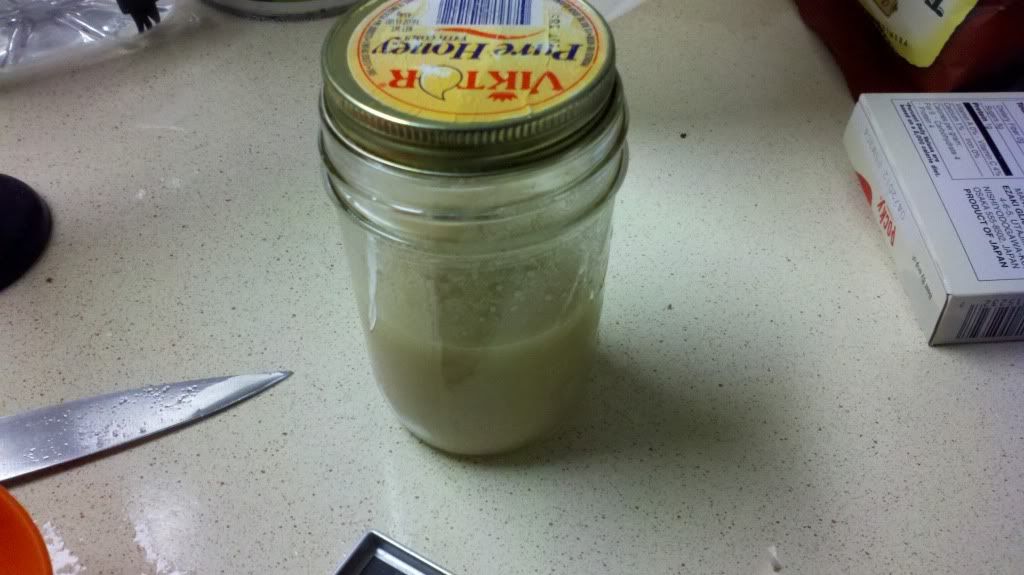
Time for your first meal you little bastards! Thief out a 1/4 Cup of must and mix it into the yeast. This is their first taste of that yummy pineapple honey must so they need some time to get used to it. Give them 20 minutes before coming back... More Battlestar!

Now that the yeast have acquired a taste for the must they can be fed a bigger dose. I added about 1/2 Cup of must to the yeast. Give them another 20 minutes to adjust.
 |
| Do you're job! |
Okay, so now everything's set to go live. But FIRST, check your temperatures. The yeast starter measured at 78F and my must measured in at 74F. A 4F drop is fine. Anything up to 18F is okay. If the temperature is more than 18F different you need to perform a tempering step where you mix enough must into the yeast to lower the yeast temperature by 10F-15F then wait 20 minutes before doing it again. Repeat that until you get within 18F of the must.
I didn't have to do that so I just stirred the yeast up and pitched them into the must. Stir the whole lot up, fit on the lid, shove the airlock into the bung hole and put it to bed. And by bed I mean a 58F water bath! Chilly... I start most of my mead/wine at above room temperature (70F-74F) to give the yeast a nice warm place to start their families. Then immediately plunge them into a cold water bath. This will slowly take the must temperature down to where I want the fermentation to take place. (~60F).
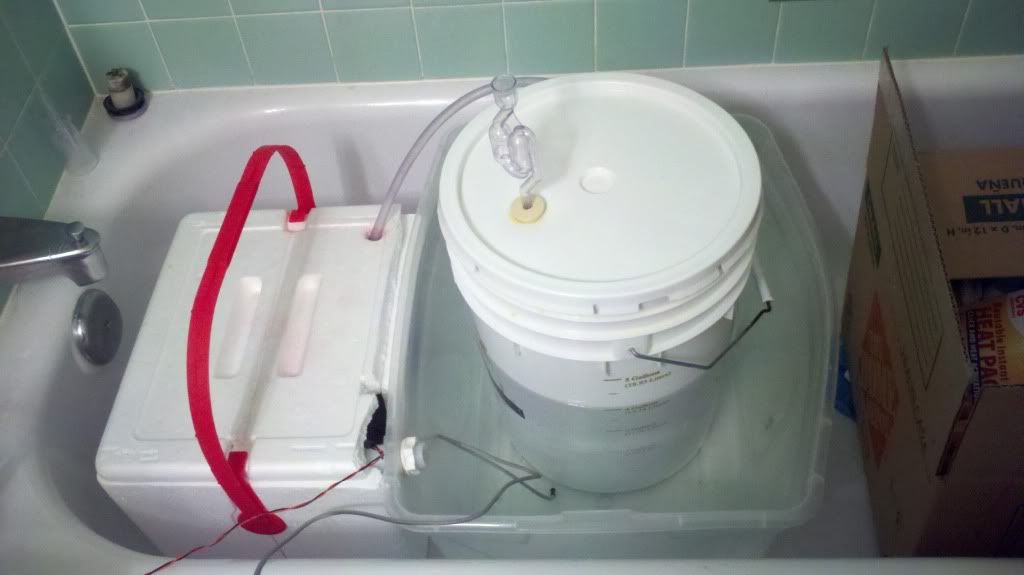
That's my fermentation temperature control rig. It is essentially a water bath that has its temperature regulated using ice. A water bath is by far better than a cold box in my opinion. The reason is that water has a very high specific heat and is a very good thermal conductor. Air really sucks at both of those things. What that means to this application is the water bath will be able to regulate the temperature of the must much better and the temperature of the water bath will be very very close to the temperature of the must. Because of that you don't need to put a temperature sensor into the must and can instead just keep the water bath at the temperature you want the must to be.
Inside that white foam cooler is a bunch of ice and some water. There's also a pump. When the temperature controller senses the water bath is too warm it switches on the pump. Ice cold water dumps into the bath via the clear tube.
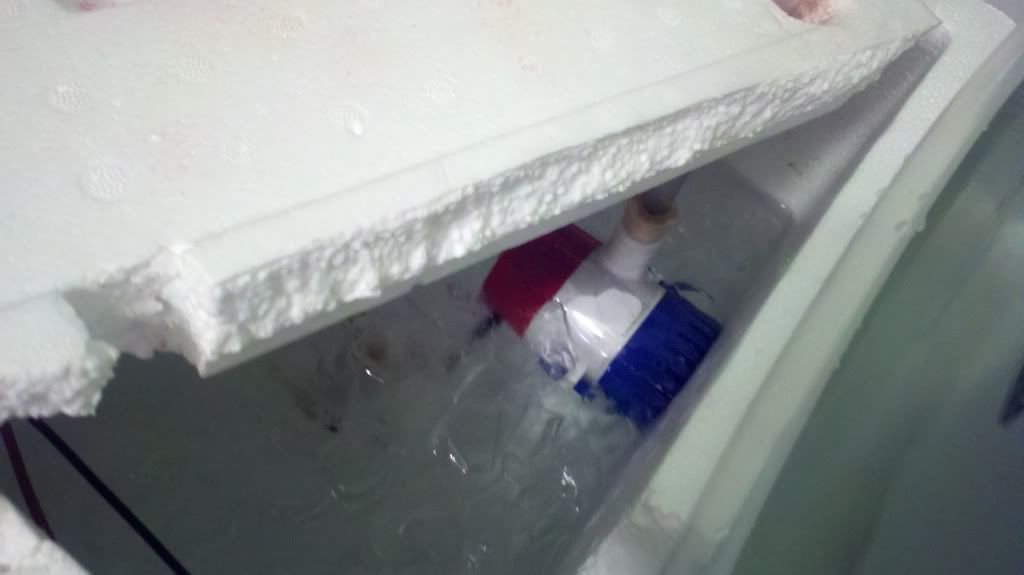 |
| The Pump in the ice |
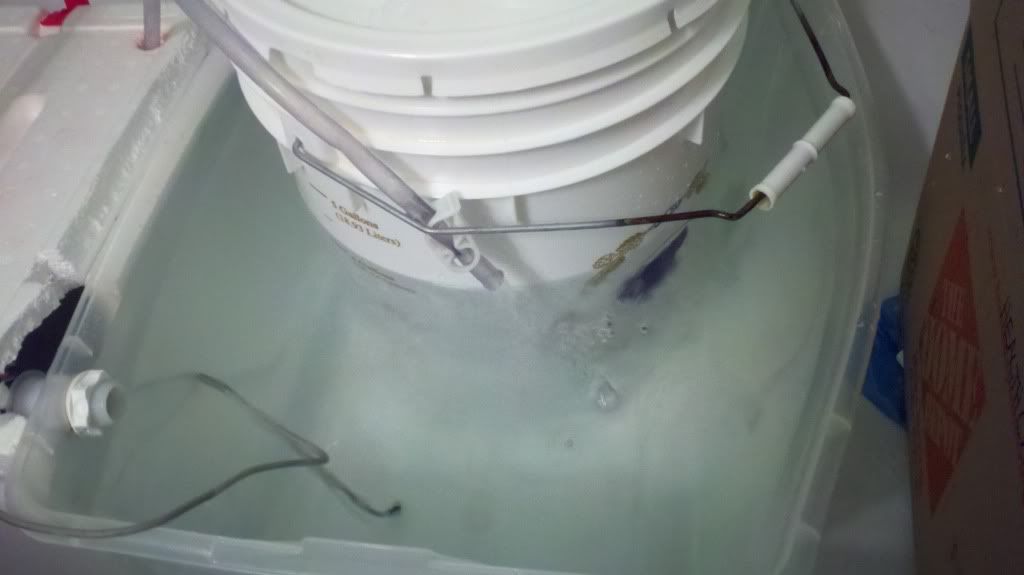 |
| The Pump in action. That grey cable is the temperature sensor. |
The water overflows through the bulkhead and pours back into the cooler. This way the cool water is recycled and becomes ice cold water. Once the temperature of the bath gets low enough the temperature controller shuts off the pump. This works great!
The temperature controller? Oh, yeah. I MADE that myself. Here are some pictures.... Its that tiny black square. The black stuff is mastic tape I've wrapped it in to keep it water proof.

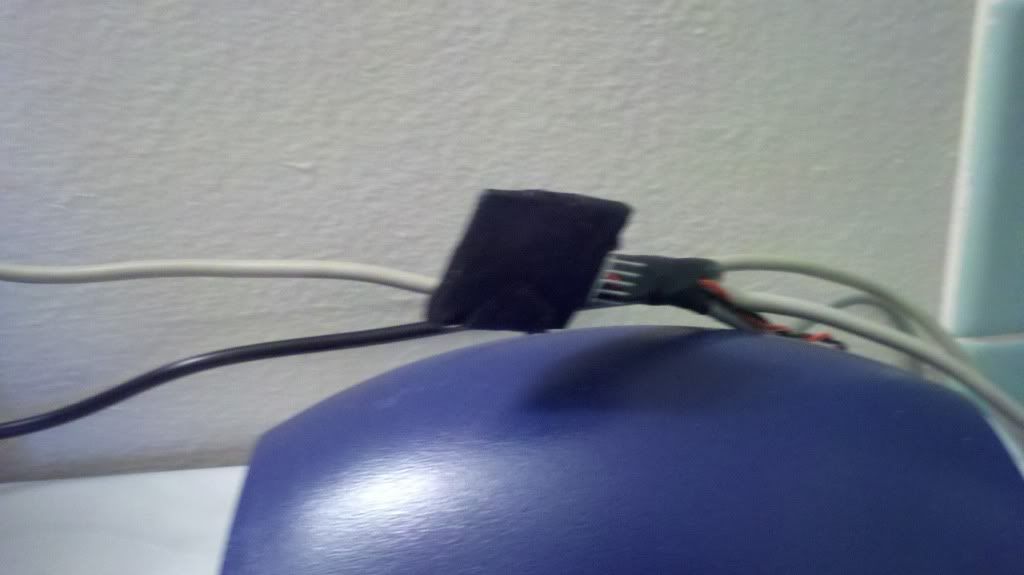
The temperature is set using a laptop computer. Just plug it in, set the temperature, and unplug it. Simple. The set temperature is saved in non-volatile memory so it remembers even after you've powered it off. The temperature sensor is waterproof and accurate to +/- 0.25 degrees C. The output can control up to 10 amps @ 12V DC. So this can run a whole lot of stuff. It can even be used to power a relay which means this can control an AC appliance, like say a fridge.
Best of all this thing is cheap to make because it doesn't have a display or buttons etc... Normally this will be potted in a small plastic box and covered in epoxy. That would make it waterproof and quite rugged. If there is any demand for it I will sell this for $20-$25. That sure beats the $100 for a digital controller!
Did I also mention that can be used as a heater controller? Yup!
Holy fraq...
ReplyDelete